How to Laser Engrave a Photo
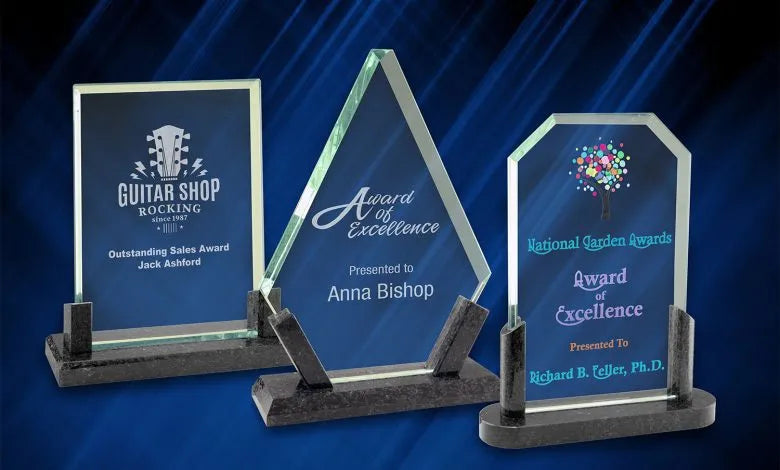
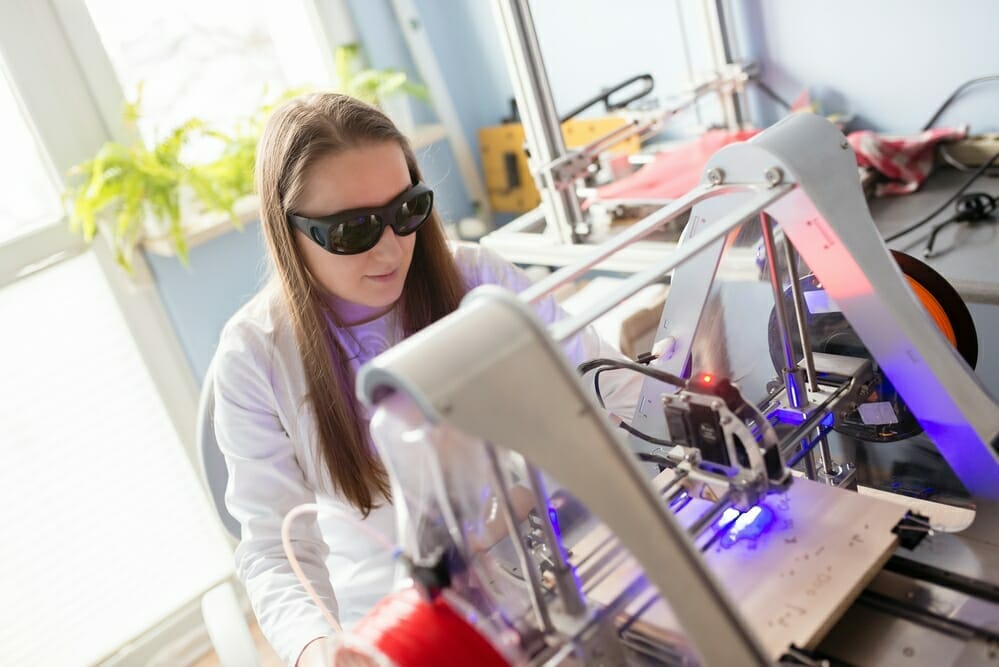
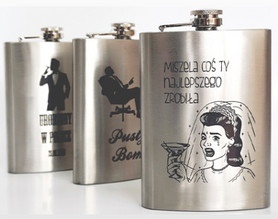
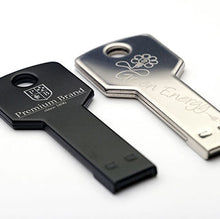
Laser engraving is a method of engraving patterns, characters, etc. into the surface of a material by laser technology. With the continuous advancement of laser technology, Atomstack laser engraving has become a mainstream method for producing high-quality, detailed products.
Preparation
Before laser engraving, you need to prepare the following materials:
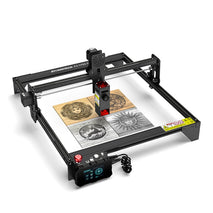
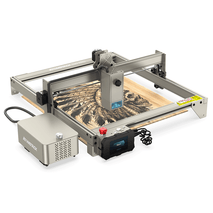
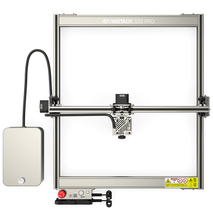
- Engraving machine: Atomstack S20 Pro laser engraving machine is a high-tech equipment that can engrave images or texts on the surface of materials through laser beams. You can buy a laser engraver at a local manufacturer or online store.
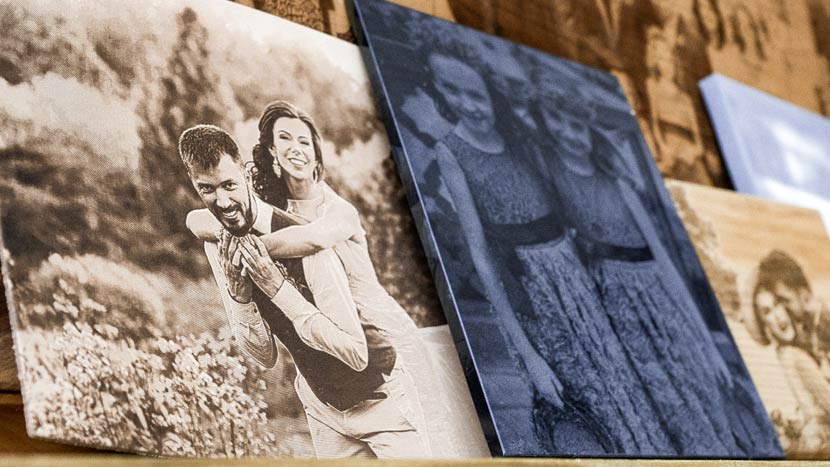
- Materials: You can engrave a variety of materials with a laser engraver, including wood, glass, stone, and more. For engraving photos onto the material we recommend a solid white or light colored wood board as this material will reveal better for the engraving.
- Photo file: You need to convert the photo to be engraved into a black and white image and save it as a photo file in .jpg format. For this process, you will need to use appropriate image editing software such as Adobe Photoshop etc.
Convert Image
- Open the picture editing software of your choice and open the photo you want to convert. Then, enter the picture editing page, edit the image, adjust the size and brightness of the image, and ensure that the details and information in the picture are clearly visible.
- Convert the image to black and white. This can easily be done with the conversion function on software such as Photoshop.
- Click the "File" tab and select the "Save As" option to save the image as a .jpg file. Make sure the saved image is the right size and resolution for your chosen material and laser engraver.
Setting Up Your Laser Engraver
- Turn on your Atomstack S30 Pro laser engraving machine, put the material of your choice on the machine, and then close the machine cover.
- Open the laser engraver software and select the converted photo file. Adjust the position and size of the photo so that it fits properly on the material.
- Set parameters such as laser energy, speed, power and frequency according to the material type you selected. Change these parameters in order to adapt the laser engraver to the material and to ensure safety during operation.
Laser Engraving
- Start laser engraving. Run the laser engraving machine software, and click the "Start" button to start the laser engraving process. Make sure to remain vigilant during the operation, regularly inspecting and monitoring the engraving process.
- Pause the LaserPecker 3 laser engraver and remove debris from the board. Make sure to put the board back into the laser engraver space after each cleanup. Do not force the board into the machine.
- After finishing the laser engraving, turn off the laser engraving machine and remove the engraved wood board.
Trimming and Removing Wood Chips
- Use a clean brush and gloves to wipe off the sawdust and clean the board.
- If necessary, use sandpaper to grind to make the surface of the board more smooth.
- Apply a transparent protective agent on the surface of the wood board to protect the firmness and durability of the engraved image.
Summarize
With advances in technology and innovations in laser technology, the laser engraving process has become easier and more common. Now you can use a laser engraver to engrave your precious photos into lasting keepsakes so they can be preserved for years to come, continuing each unforgettable memory. If you follow the steps above to laser engrave your photos correctly, they will become your precious treasure.
