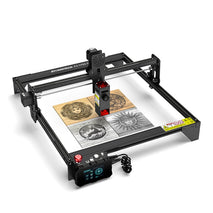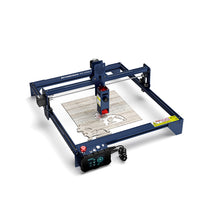
The Ortur Laser Master 3 Reviews
As far as looks go, it's been designed to be faster, more precise, and easier to use than ever before. Ortur's direct engraving functionality has been improved to make it more efficient and save users time. Without further ado, I would like to share with you some features and specifications of the Ortur Laser Master 3, so let's get started right away.
These design improvements are as follows:
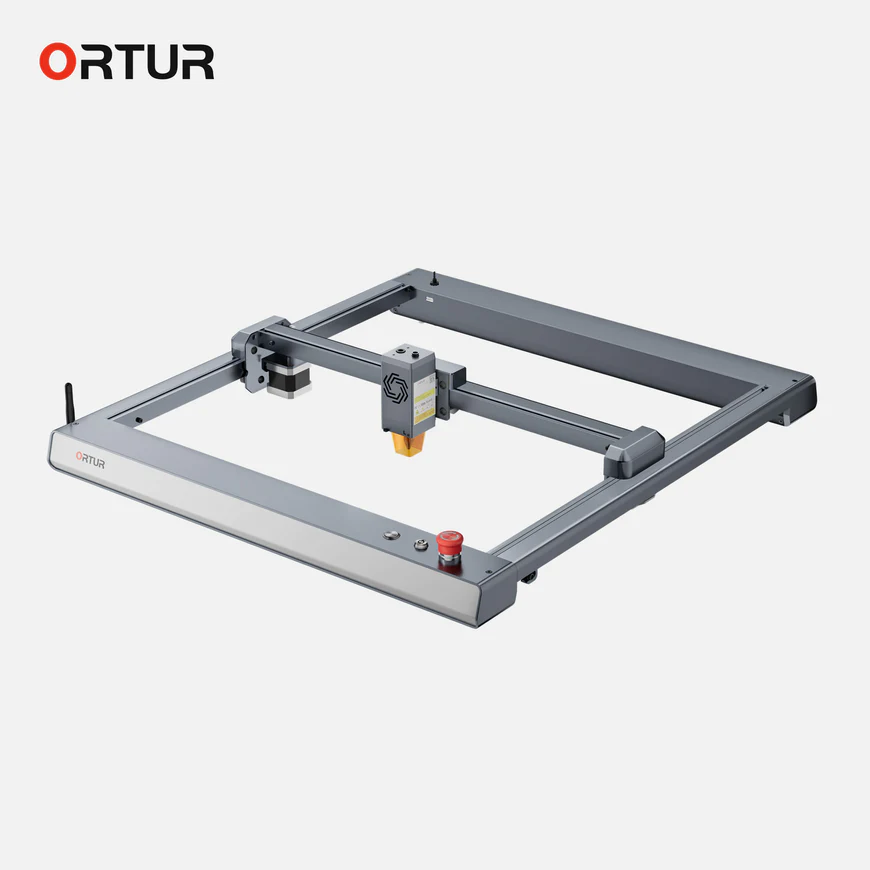
The Ortur Laser Master 3 has been redesigned to keep the center of gravity as close to the ground as possible. This ensures less vibration in the machine and improved engraving.
The extremely light laser module improves the cooling efficiency of the module and ensures high-speed engraving.
With the new and improved motherboard and firmware, the data transfer rate has been increased, thus increasing the engraving speed.
The stepper driver is a TMC 2209, the newest and most durable engraver of this type on the market. Ultimately, low noise, high torque, and switch-free homing ensure high engraving speed.
The OLM 3 is an intelligent laser engraver that offers several enhanced features to connect to the engraver remotely and engrave.
The YRR and Y-axis motors are switchable without removing the connection to the Y-axis motor.
The built-in collapsible focus lever can be used to adjust the focus of the laser.
According to Ortur, the Master 3 engraver has a new and improved laser motherboard and more powerful firmware than previous versions. V2.0 series intelligent laser firmware (OLM-ESP-PRO-V2.4) allows you to work quickly and easily while using the laser engraving machine. Plus, the 11th generation laser motherboard has everything you need to engrave quickly and efficiently.
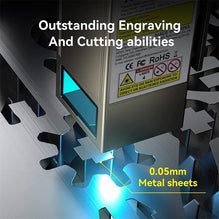
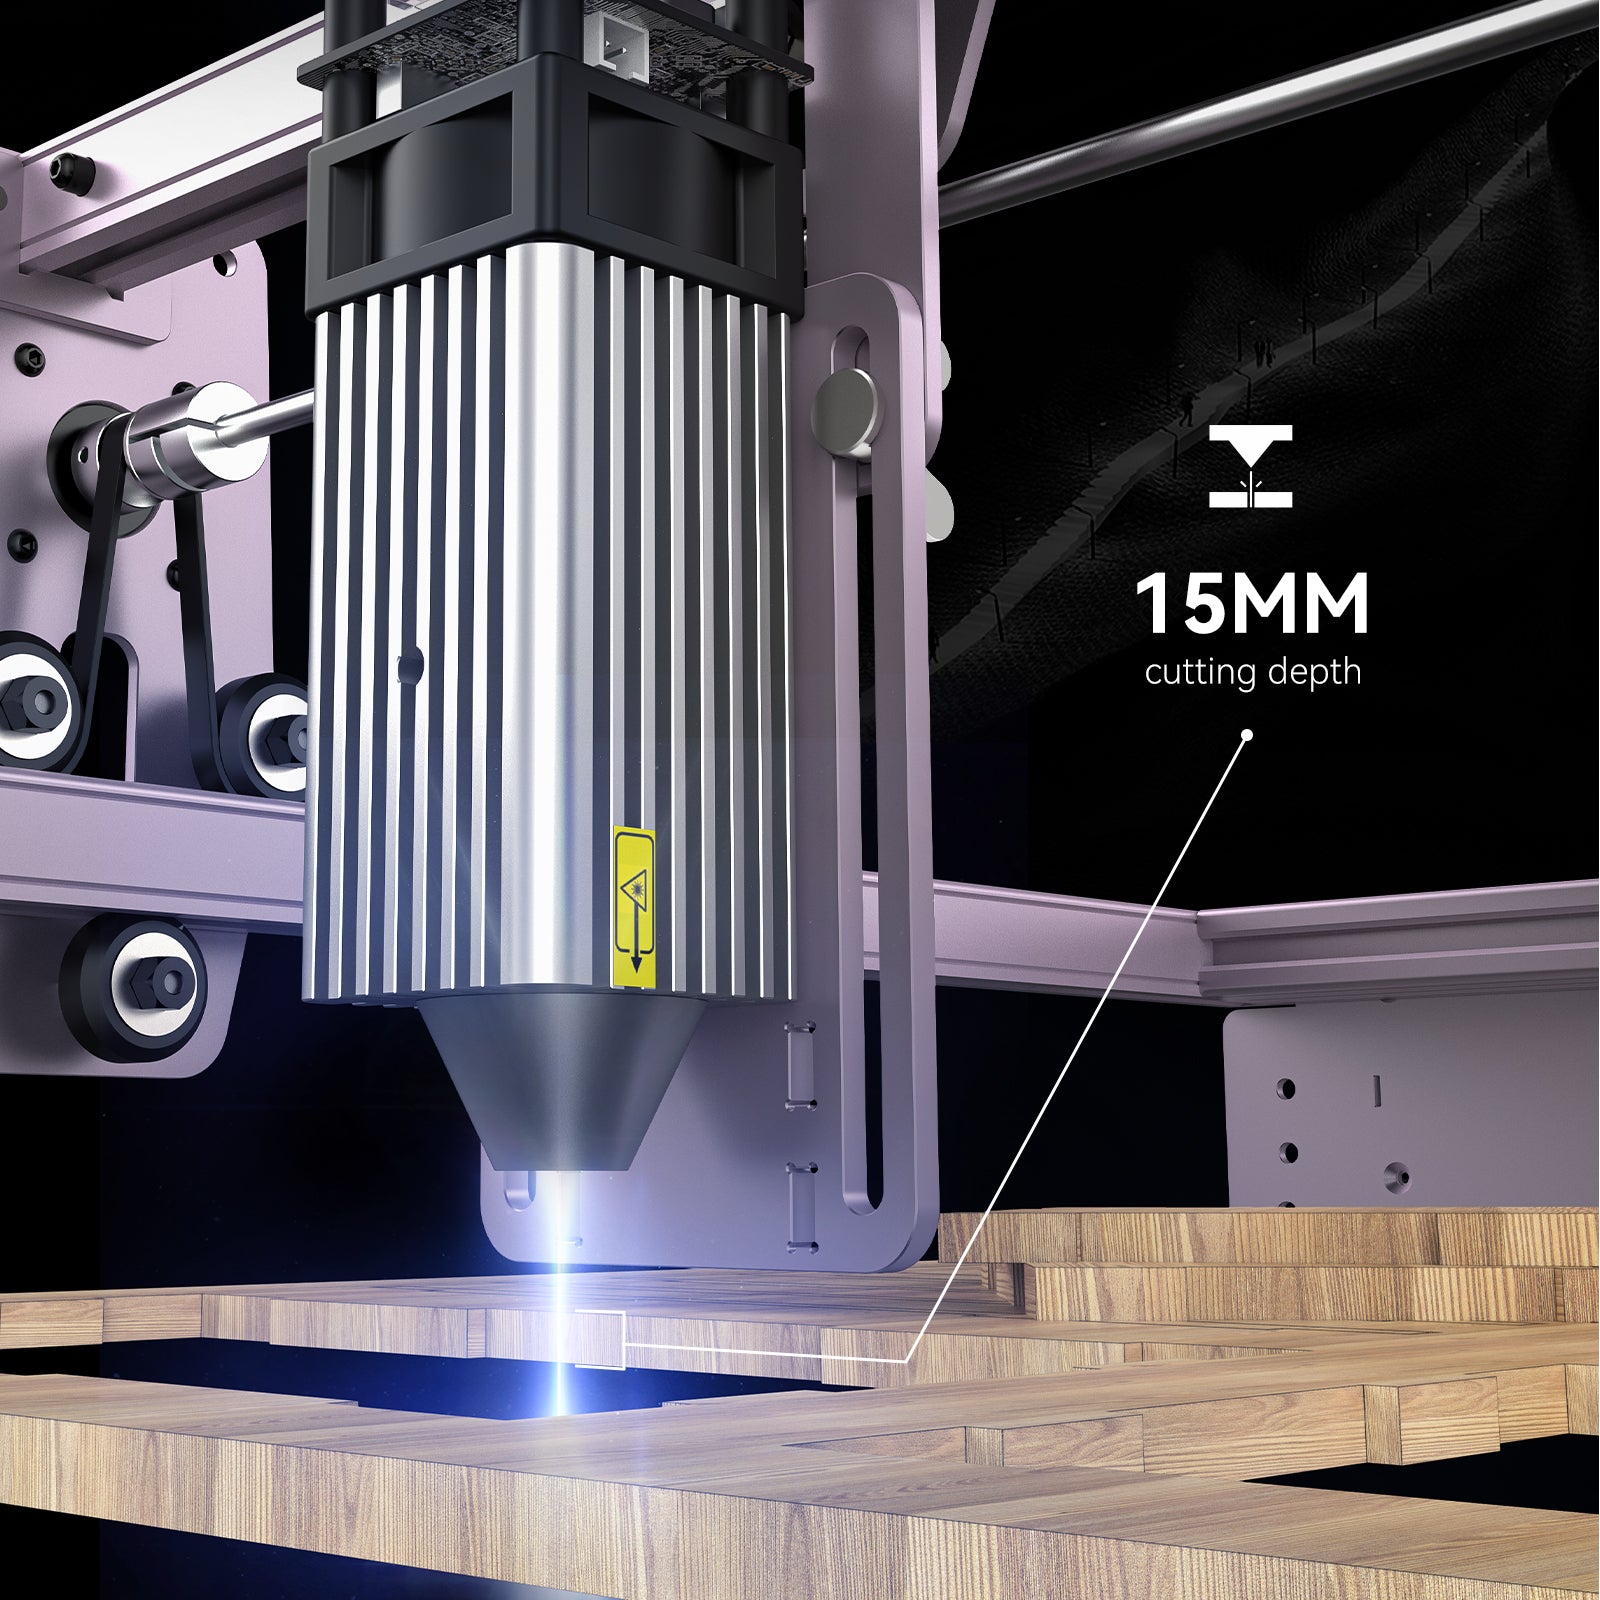
Additionally, the focal spot is 0.05 x 0.1 mm and the depth of field is 8 mm. The 10W laser is claimed to cut up to 30mm deep (depending on material). This means that carvers can now cut and carve a wide variety of items.
In the laser engraver market, Ortur is known for producing some of the most affordable laser engravers out there. From our experience we have used the Laser Master 2 and the Ortur Laser Master 2 Pro - we can tell you that they are both excellent products. Since the Ortur Laser Master 3 just came out recently, we had to check out the performance of the brand new version to see if it was worth the investment. As part of our Ortur Laser Master 3 review, we tested the performance of this affordable laser engraver and some of our most popular accessories, so you can make an informed decision on whether you want to upgrade your laser with these items too In our trial, as part of our investigation, we will be testing a YRR rotary laser module for engraving on curved surfaces, an air assist system, and at one point a honeycomb table with an aluminum plate mounted on it.
Ortur Laser Master 3 Unboxing and Assembly
With a total weight of 6.5 kg, the Ortur Laser Master 3 is packed compactly for easy transport. When you receive your Laser Master 3 you will receive a manual with complete parts list details in every language you can think of. The only caveat is that it doesn't come with a paper instruction manual. There is a reason for this, and that is to help the environment by removing paper instruction manuals from their products. Instead, you can download the information as a PDF file from their website. This may not be ideal if you don't have a reliable internet connection, as it can be frustrating in some cases.
Assembly only took about 30 minutes, although the first step might be difficult for the inexperienced to do on their own. There is a wire that needs to go through the left side chassis piece so it is difficult to fit it with the 4x8mm nut. Other than that, everything else is easy to do. The updated version has a few changes, mainly a more intuitive way for you to build chassis and belts. Also, the wiring system is much more organized compared to the old Ortur Laser Master 2 Pro. Once the unit is turned on, I update the firmware, you may also need to go through this process if you run into any issues. Once you've downloaded the firmware from Ortur's website, all you need to do is turn on the laser and press the reset button. This will prepare the laser for a firmware update, after which you can transfer the files once the laser is connected to the computer.
Ortur Laser Master 3 laser engraving test
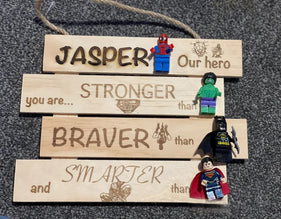
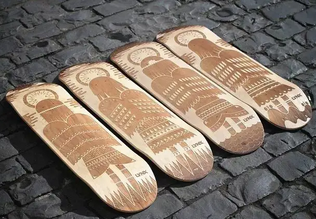
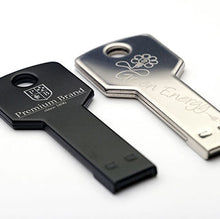
With the Ortur Laser Master 3 laser engraver, it is possible to engrave a variety of different objects, such as the one shown in the examples below. You can use a variety of techniques to engrave on ceramic tile, stainless steel, and other materials. For example, you can use Lightburn dithering and use any other function in the program, or you can use Image R, which is an efficient and more effective way to sculpt on many different surfaces.
laser engraved tiles
As you can see, you can engrave directly on the tile or spray paint it in a different color. This will change the look of your finished laser engraved tile. The speed and power I will be using is 8800/35 unless otherwise stated.
Laser Engraved Slate
Engraving slate with a laser is similar to engraving tile; however, if you use paint, you will be able to achieve better results on slate than on tile because the paint adheres more strongly to the slate. There is no doubt that slate is a more suitable material for direct engraving. The speed and power I will be using will be 8800/35.
Difference between Ortur LM2/Pro and LM3
There is no difference in their field of work, but the following differences exist:
The Laser Master 3 offers a speed of 20,000 mm/min, while the Laser Master 2 Pro has a speed of 10,000 mm/min.
The OLM3 has 10W of power from two 5W lasers, while the LM2 Pro has half the power at 5W. This makes it better for engraving on hard materials like aluminum and other metals, and for faster and deeper cuts in wood and acrylic.
The Laser Master 3 can cut acrylic 30mm deep and wood 20mm thick, while the LM2 Pro can cut approximately 12mm wood and 10mm acrylic.
The Laser Master 3 is Wi-Fi connected and you can send images to engrave via the Laser Explorer app, SD card or USB drive. The LM2 Pro can only be connected via USB.
The LM3 has an upgraded metallic aluminum chassis. The LM2 Pro is primarily black acrylic, and the standard Laser Master 2 is less well protected. The LM3 has an upgraded motherboard.
Older Post
 Newer Post
Atomstack S20 Pro Features Introduction

The Atomstack A5 PRO+ Review


